Planning
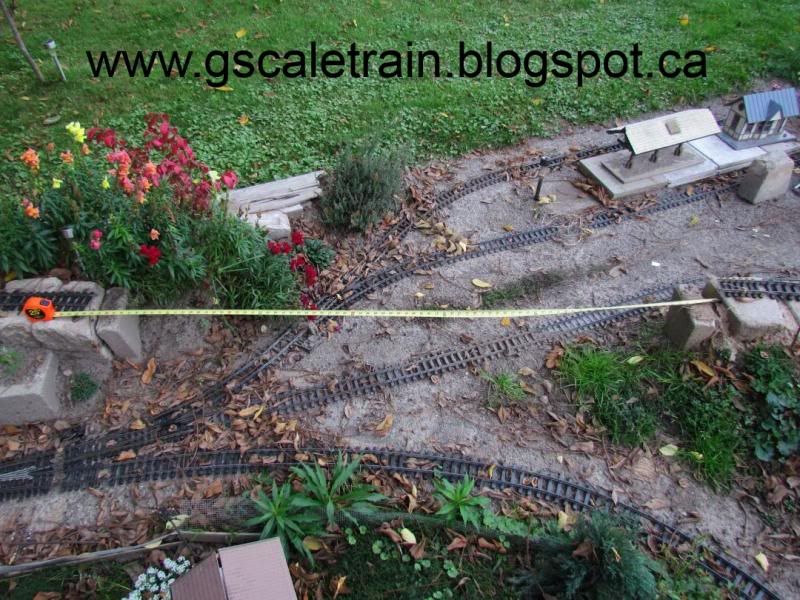
Steps to building a Popsicle Stick Bridge for your G-Scale Garden Train Railway is to figure out what shape, style and size of bridge it is that you want to make. The length of our bridge depended on the distance we wanted to span, which ended up being around 7 feet long.

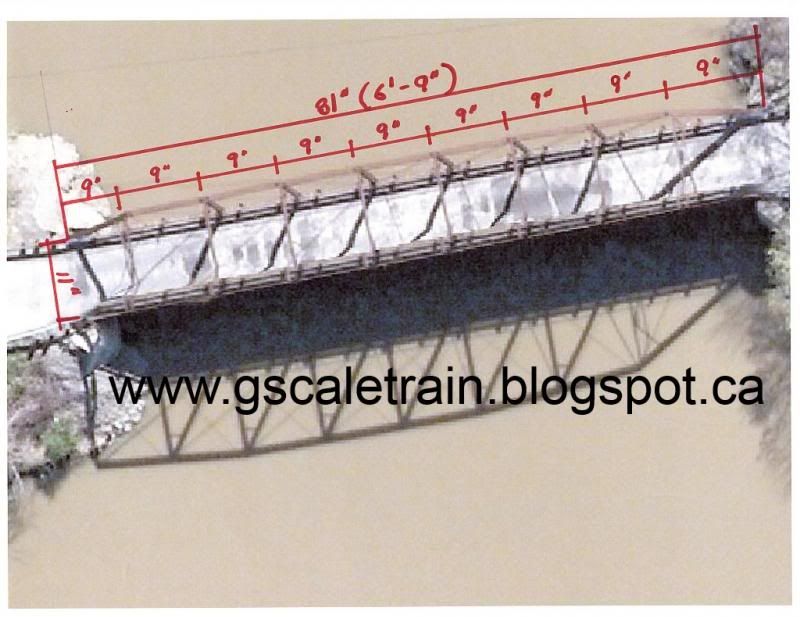
I wanted to do an old steel bridge and found a great website that documented old historic bridges . Many years ago I had seen the O'Reilley's Bridge before it was taken down and in the back of my mind I wanted to create something like that. It wasn't until I started viewing all the detailed pictures on the site that I realized that it could be possible to create out of common popsicle sticks. People have been asking me for detailed plans on how to create the our bridge - CLICK HERE FOR THAT BLOG ENTRY. Unfortunately, everything was in my head and only created a few diagrams to establish dimensions and angles. I always do all my models at 1:24 scale for the simple math conversions (1 inch = 2 feet). I will try to recreate my steps over the next several blogs and will hopefully inspire others to create similar masterpieces. The next thing I did was to obtain an aerial photo of the bridge to figure out its length and width. I divided the bridge into nine X 9 inch sections making the bridge 81 inches long or 6'-9". I wanted the main width to also be 9 inches wide with additional 1 inch jut-outs for the Cross-Stitch Columns (Total 11 inches)

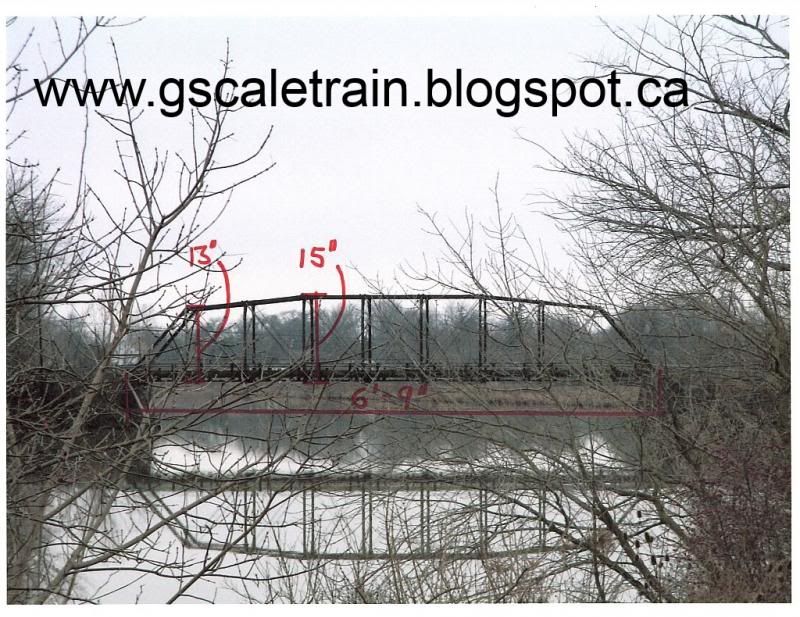
Next I found a photograph of the side of the bridge. Knowing a train car is roughly 8 inches tall I needed a 2 inches for the top cross beams, 2 inched for the bottom beams plus an extra inch of clearance giving me a height of (2+8+1+2)=13 inches at each end and 15 inches in the middle.

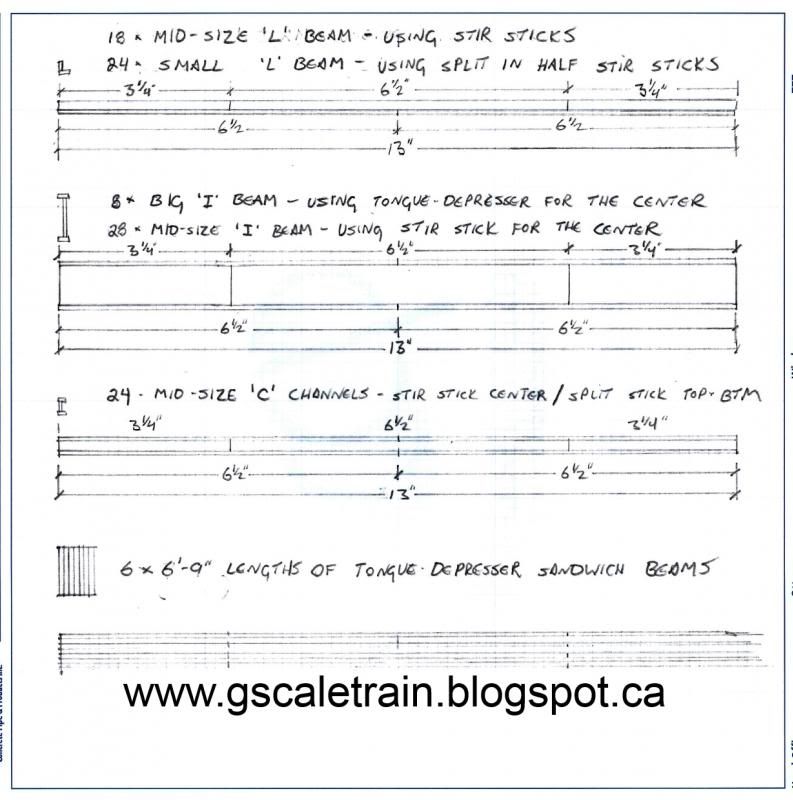
Analyzing the pictures, I created a list of primary parts I needed to make: -Big 'I' Beams for the bottom cross stucture -Mid-Size 'I' Beams for walkway support and railing posts -Sandwich Beams for the main top + bottom structure the entire length -Mid-Size 'L' Channel for bottom cross supports -Small 'L' Channel to be used to create the top angle joists -Mid-Size 'C' Channels to be used to create Cross-Stitch Supports -Small dowels for top cross supports and handrails.

More about creating the parts in a later blog... CLICK HERE TO SEE PART 2 - MATERIALS
CLICK HERE FOR THE FINISHED BRIDGE
No comments:
Post a Comment