Glue is the weakest fastening system used on the bridge and unfortunately the most common. Nothing beats nut and bolts though you rarely have the chance to use them with detailed work. I love HO track nails and recommend pounding a couple of them in after everything is joined just to make sure. The glue I used is "TiteBond III" which I could only find in a cabinetry store like "Lee Valley Tools" If you cannot find it, carpentry glue can be used.
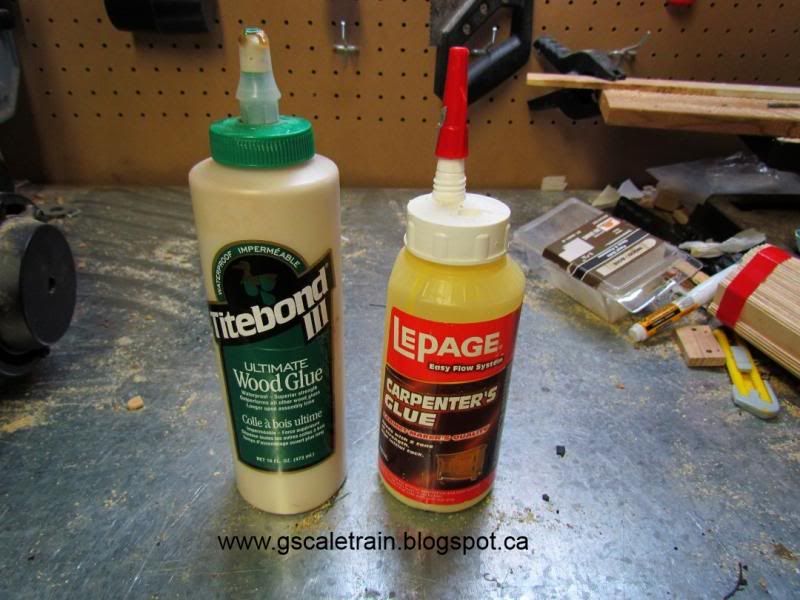
Even though the glue claims to be waterproof, it simply is not true. My railway goes from +100 degree heat waves, week long rainstorms and freezing blizzards which forces ALL glues (no matter how good) to eventually fail. This bridge is more of a "Show Bridge" and should be keep inside during harsh weather.
Though it is called a "Popsicle Stick Bridge" The truth is that there are no popsicle sticks used in the construction of it. The main wood used is Tea Stir Sticks, and Tongue Depressors
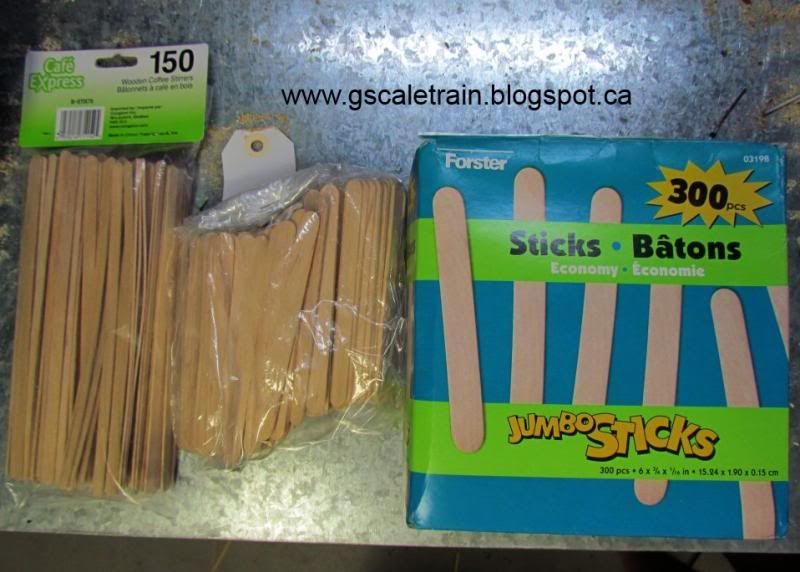
and additional detail is from Bar-be-que skewers and wooden dowels
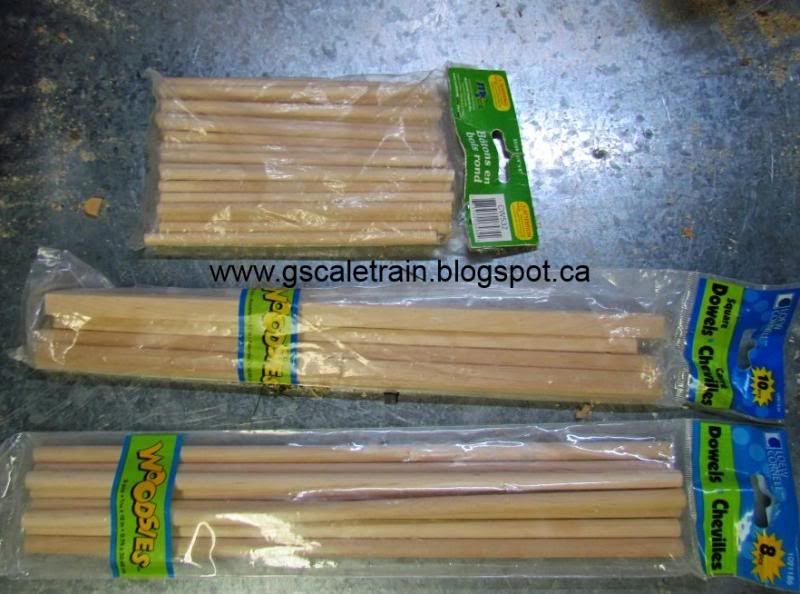
I found all my sticks at either Walmart, Michaels or Dollar Stores. As you know, the popsicle sticks come with rounded edges. When I first started I spend many hours with my small hand-held hobby saw cutting off the ends one by one.
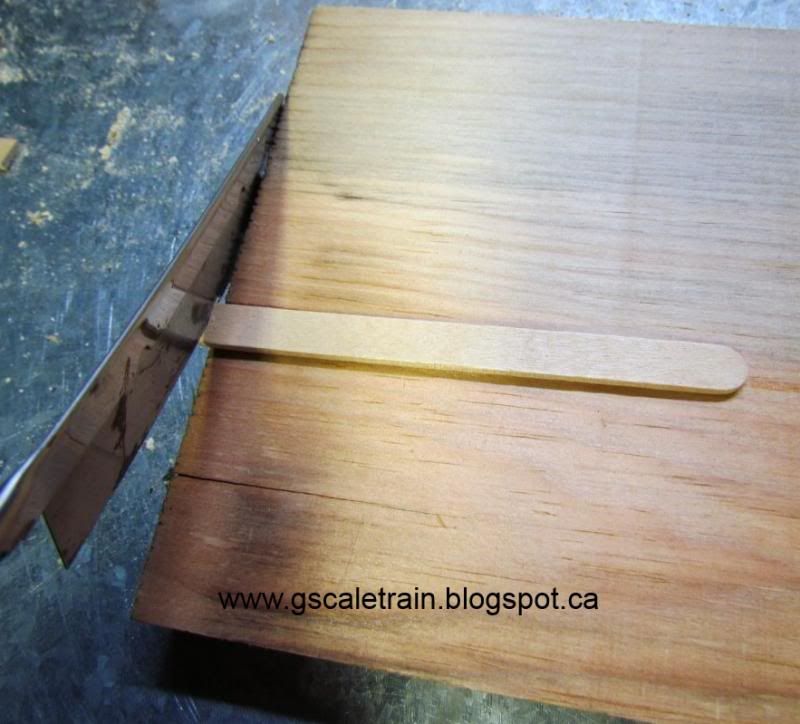
Until I found a better way. Electrical tape all the sticks together (groups of 300 hundred) and with 60+ tooth sawblade just mitre saw all the ends off at once.
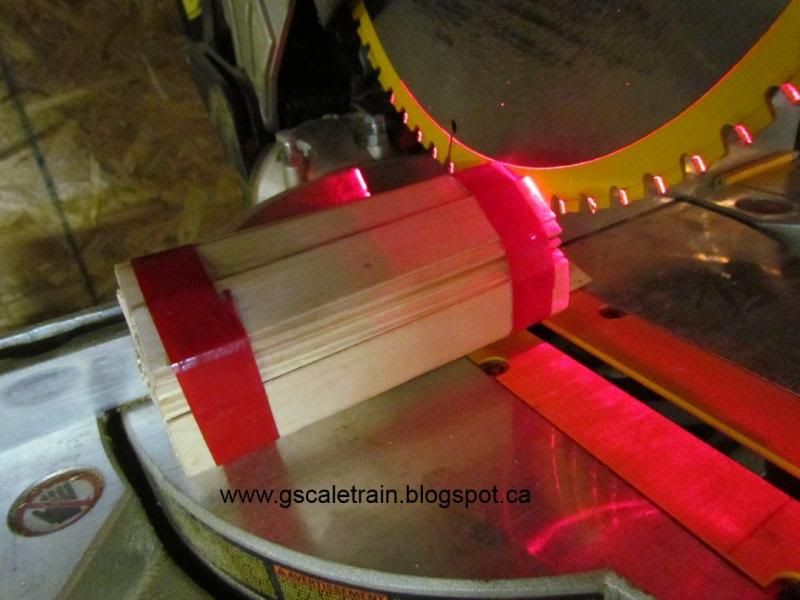
Some of them might be a little crooked, rough or splintered but a bit of sandpaper will buff that right out. Analyzing the individual sticks, some might have to be discarded for warping, weak structure or knots.
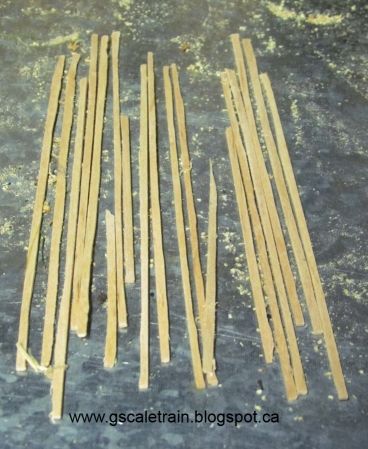
Some of the tea stir sticks we are going to have to split them down the middle. Once again the small hand hobby saw can be used but it takes a long time (trust me, I started out cutting them one-by-one). Now, I have a small scroll saw with a fine spiral tooth blade.
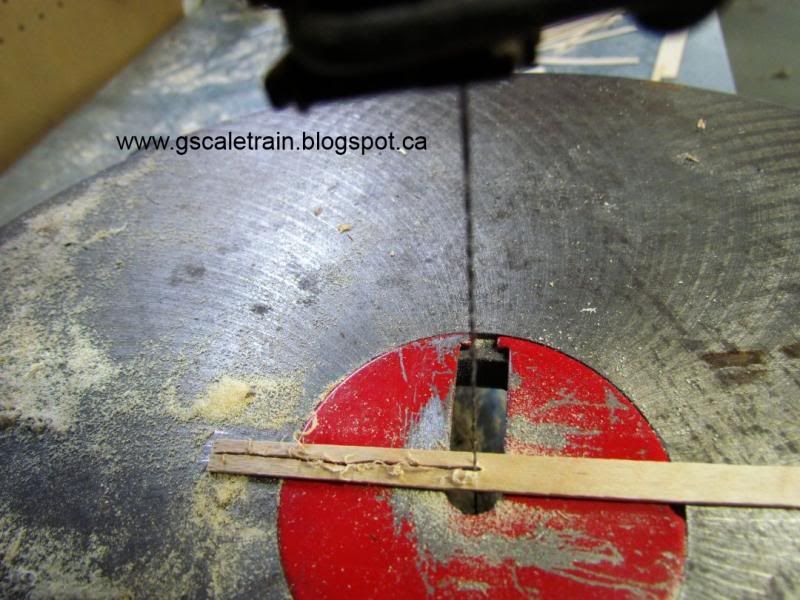
Holding the stir stick firmly and very close to the blade run the stick all the way though cutting the best you can down the centre.
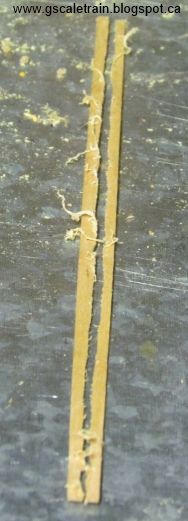
It is impossible to do a perfect job but once again a bit of sandpaper will fix the wobbly edges.
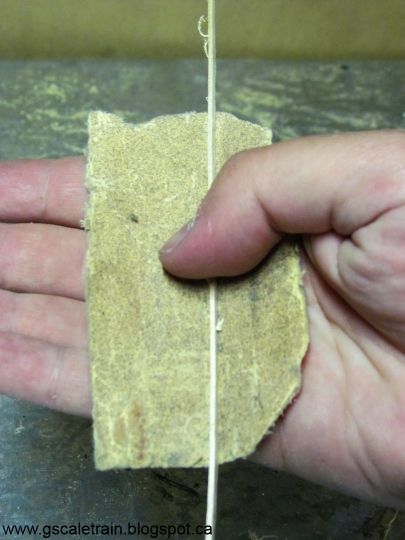
You are going to have good/bad sticks, but that is ok, because they will all be useful.
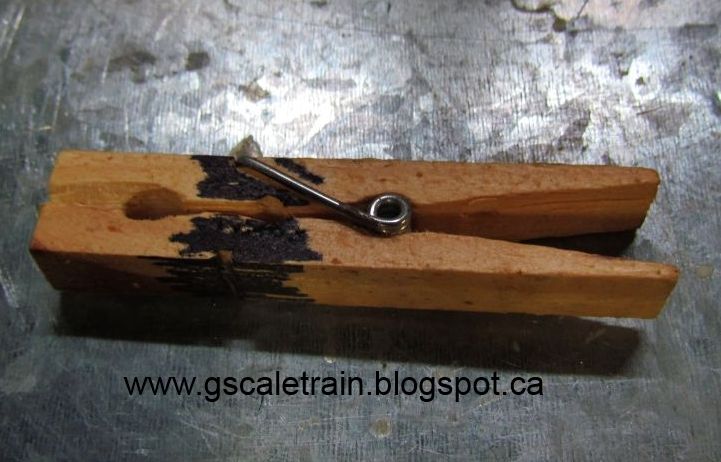
The last thing you need is wood clothes pins and plastic clamps - Lots of them. You might need a dozen on one structure at a time or may need to make many structures simultaneously. I modified a number of my clothes pegs by sawing off the front bevel. Some of the things we are gluing can be small and we need the grip at the tip. I also coloured them with black marker so I can find the modified ones from the regular.
Next Bridge Blog we are going to talk about Sandwich Beams and Big 'I' Beams used in making the main bottom frame.
CLICK HERE TO GO BACK TO PART 1 of How To Build a Popsicle Stick Bridge
CLICK HERE TO GO TO PART 3 of How to Build a Popsicle Stick Bridge
CLICK HERE FOR THE FINISHED BRIDGE :)
No comments:
Post a Comment