For each stitch column we are first going to have to make two 'C' Channels. These are made with stir sticks for the center and split-in-half stir sticks for the sides. Making 'C' Channels can be tricky work with the small parts and trying to use clamps on the slippery glue. Knowing a stir stick is 3/8" wide I use a 1/4" square dowel and electrical tape the split-in-half stir sticks to either side. (If you do not have a 1/4" square dowel, sandwich a bunch of stir sticks together making sure the glue is dry before you use it)
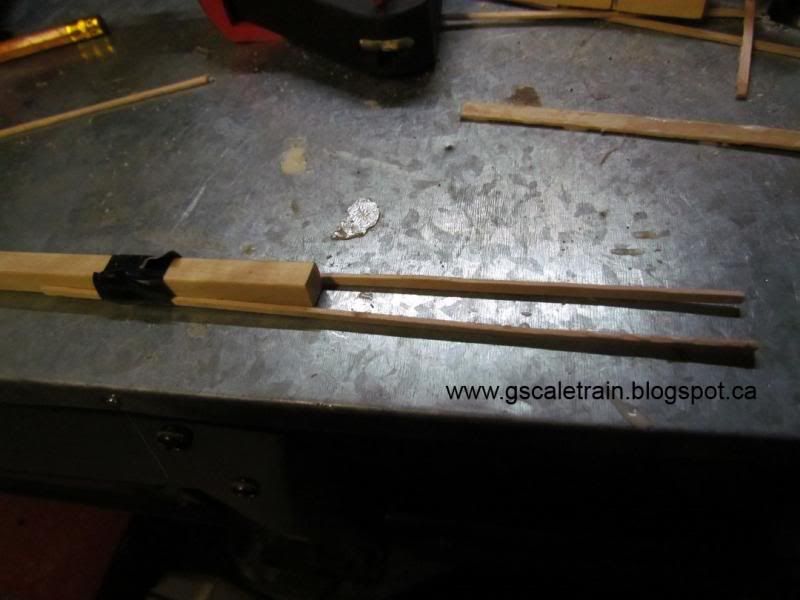
With the small sticks spread apart you can easily glue you stir stick between them.
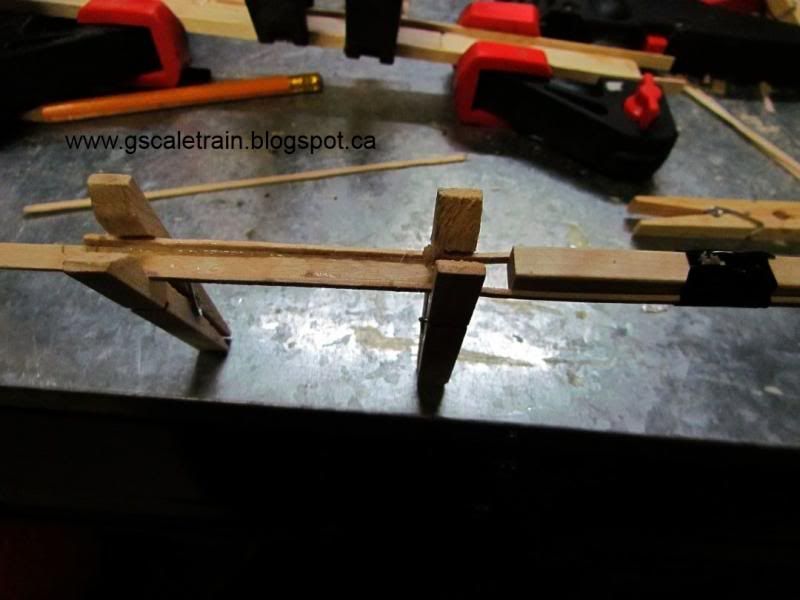
After the first section has dried you can eliminate the square dowel and connect the sticks like before.
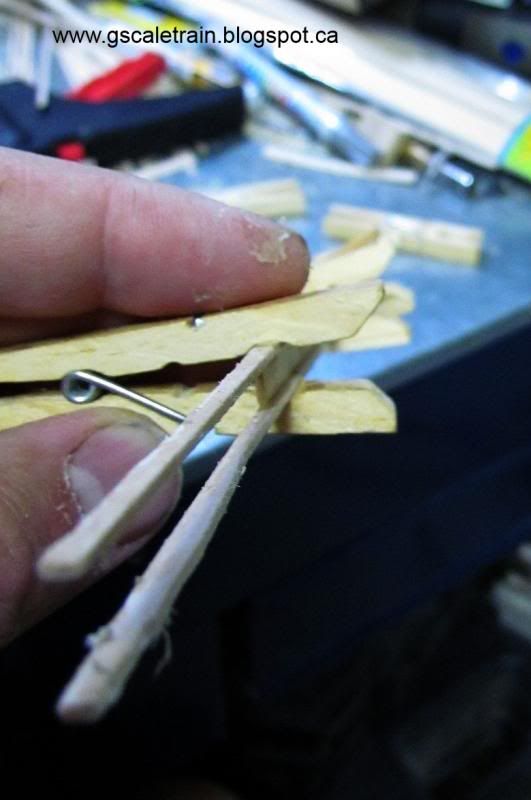
Remember to stagger the sticks while you make the 13" length of channel
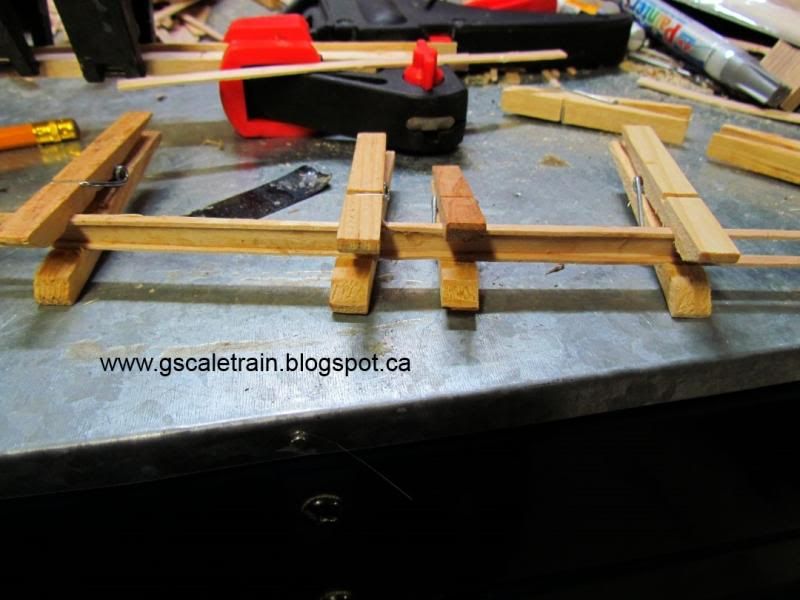
After the glue has dried, take the time to lightly sand the sharp edges. Place a 3/8" square dowel between the 'C' Channels them clamp them back-to-back together.
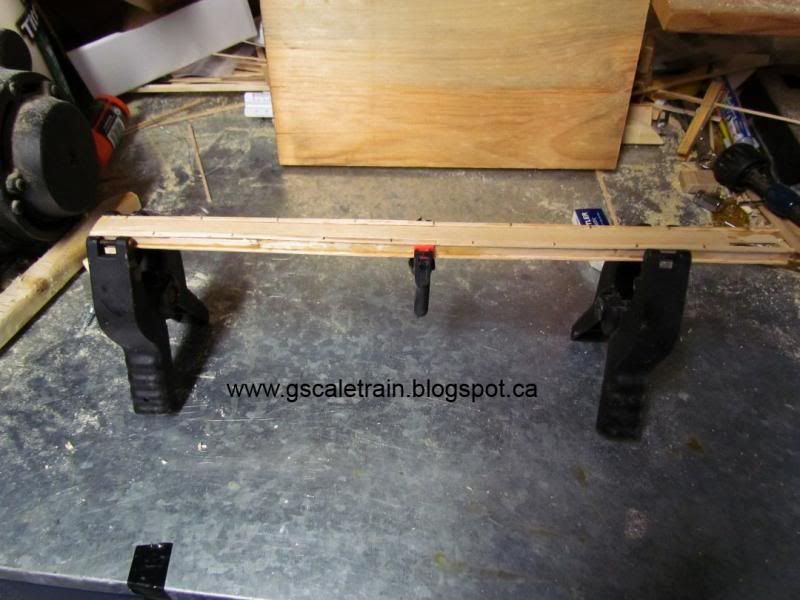
Starting on the side of one channel make marks 1 1/2" apart. On the other side, stagger them starting at 3/4" and marking 1 1/2".
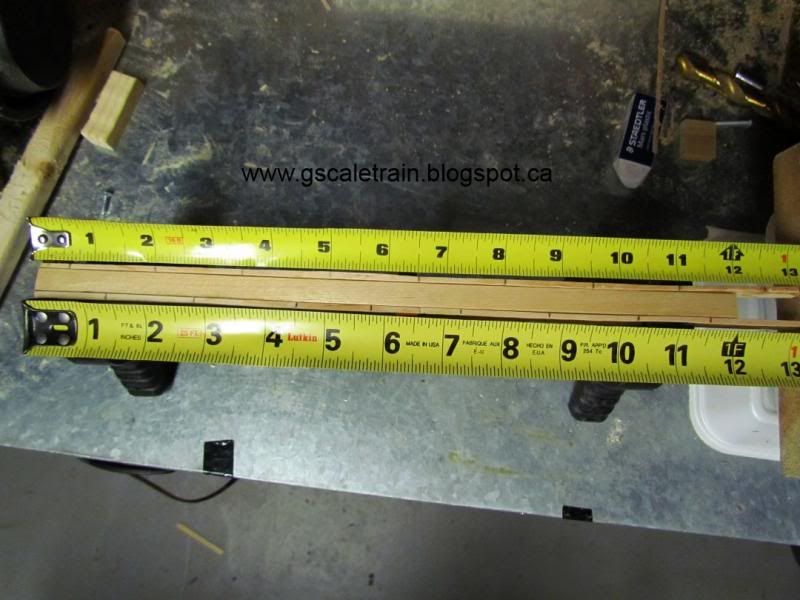
Putting that aside, use a stir stick split-down-the-middle, mark it every 1 inch but starting a bit from each end.
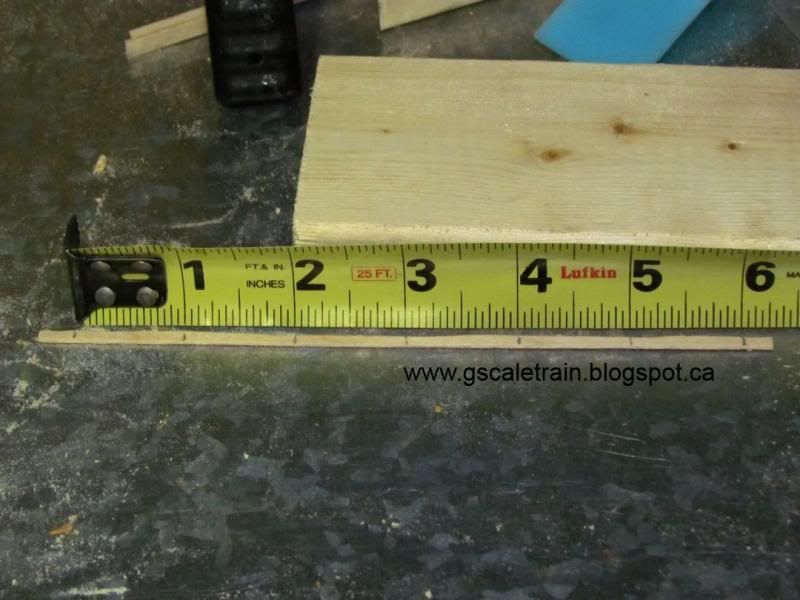
Using scissors cut diagonally (45 degrees) at the 1" marks going the same direction.
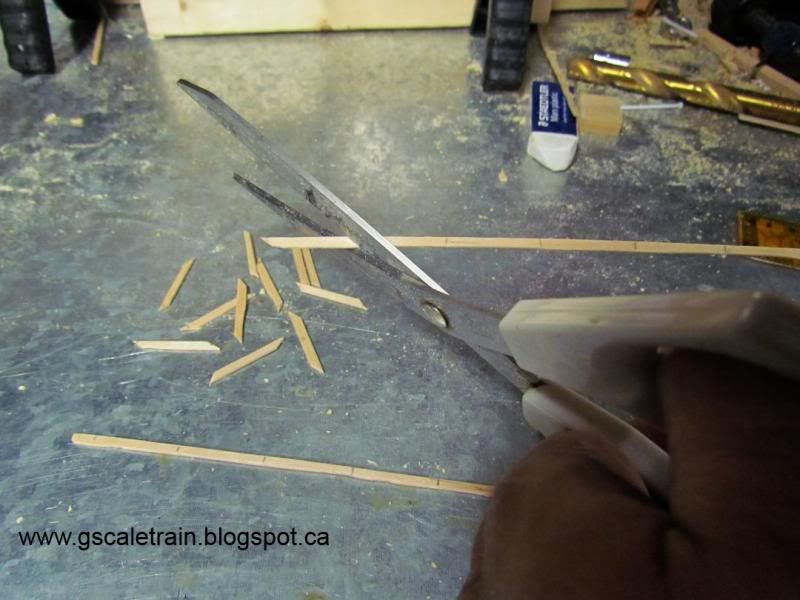
Cut off the sharp ends at 45 degrees the opposite directions and glue the ends on either side of the 1 1/2" marks on the 'C' channels. With the wet glue you can maneuver the stick so they join nicely together.
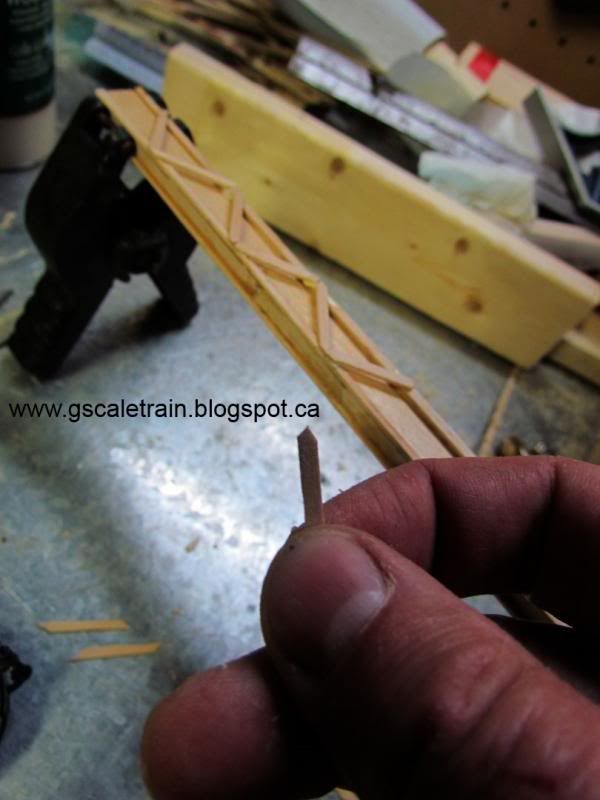
Continue the length of the one side leaving the last 3/4" of the structure bare.
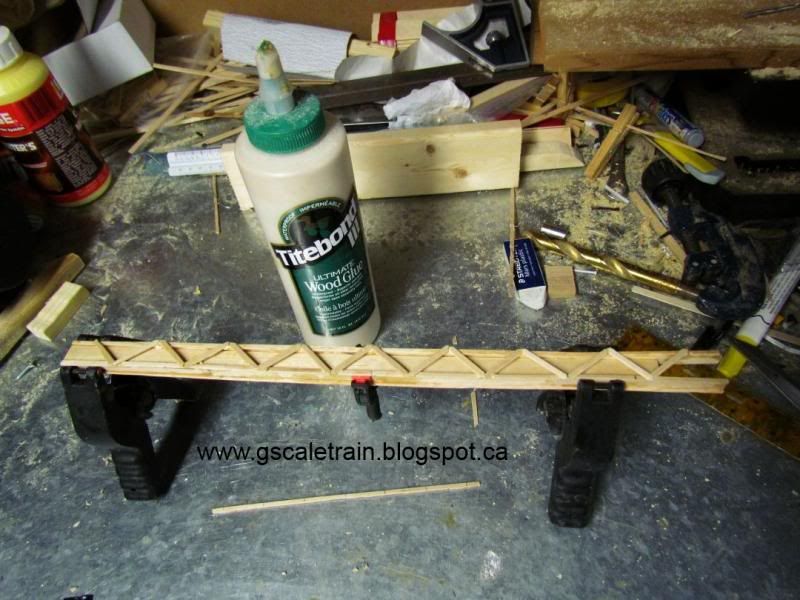
Let the glue sit overnight. The next day remove the clamps and remove the 3/8" square dowel to mark the other side in the opposite spots at 1 1/2" to repeat the steps to finish the other side.
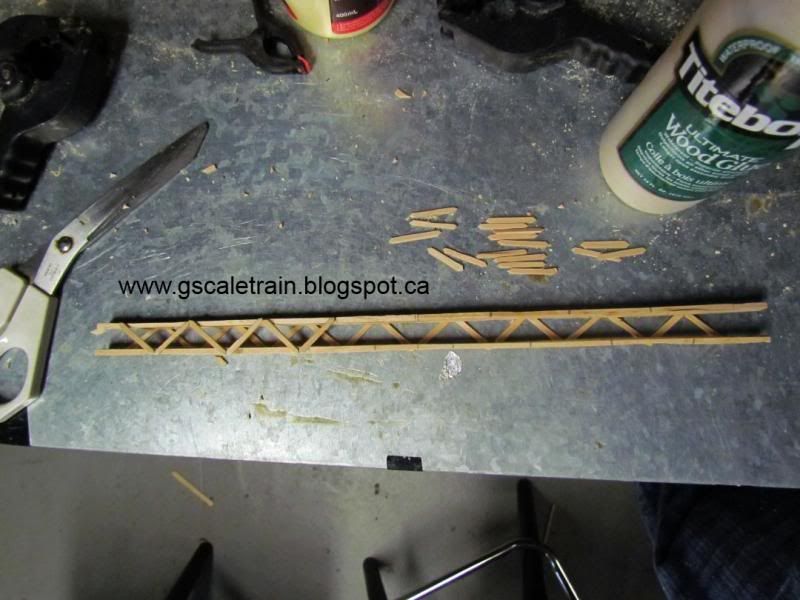
In the following photo, we glued a 1" long strip stick to the ends. Fill the inside of structure with either a 1/4" slice of the 3/8" square dowel or sandwich a bunch of stir sticks until it is flush with the other side. Dress either side with a 3/4" long piece of stir stick
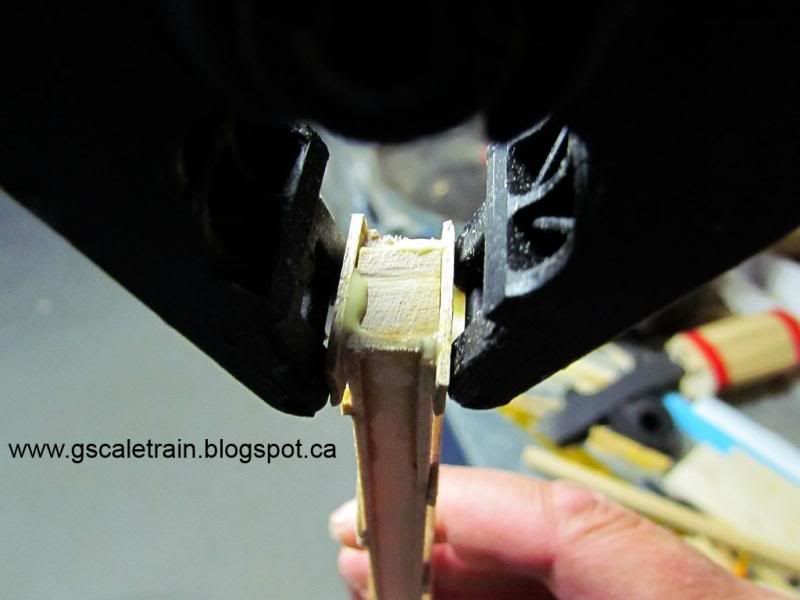
Once everything has dried, it should hopefully look like this
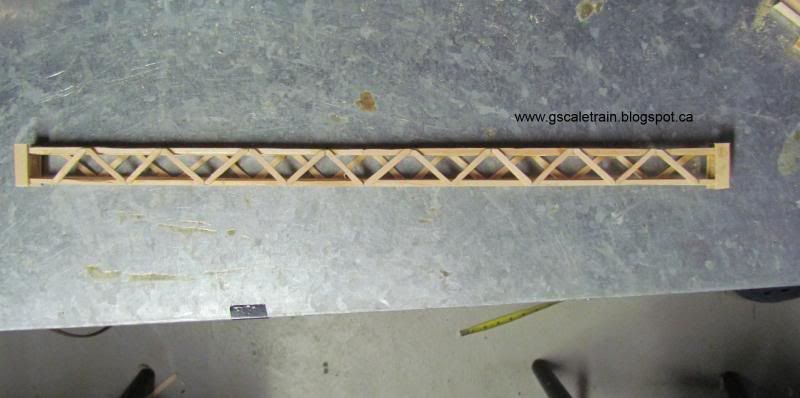
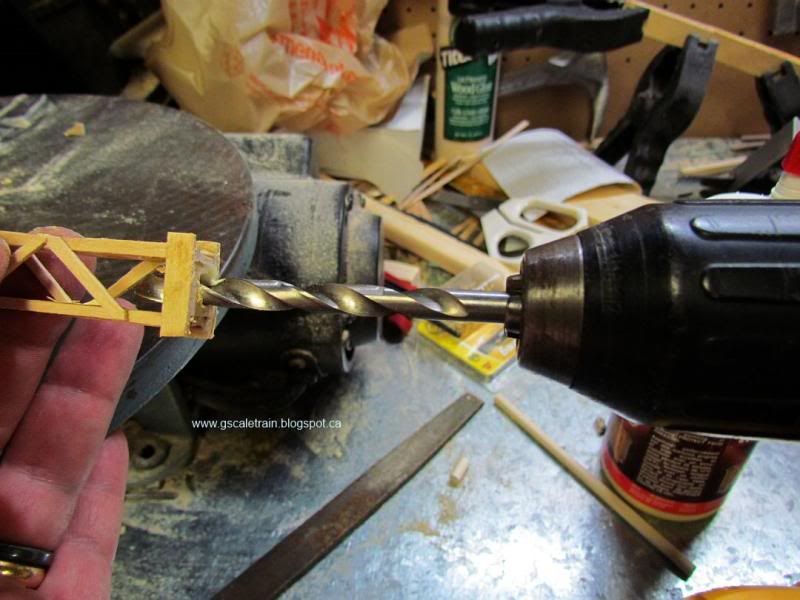
Next we are going to insert 3/4" length of 1/4" round dowel in the top of our columns for added surface contact when we attach the top sandwich beam. Drill a hole in the top block
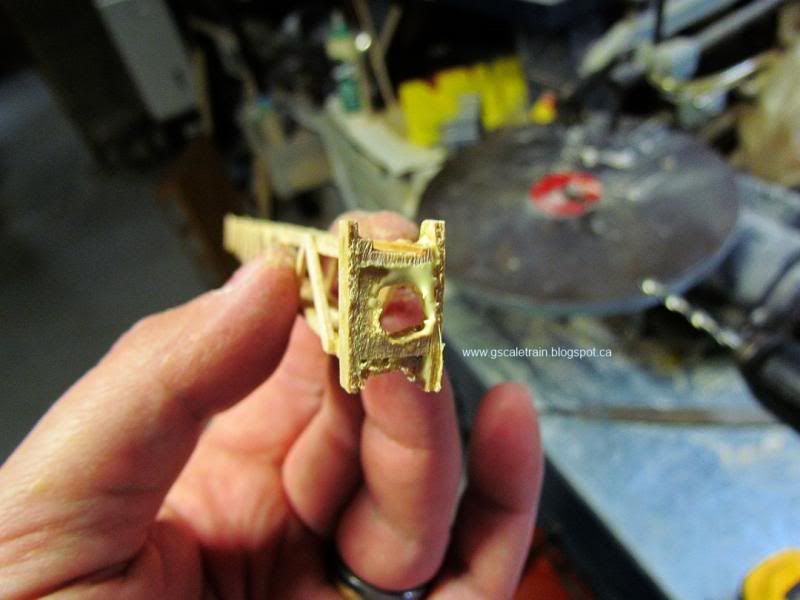
Put glue on one half of the dowel and insert into the top of the stitch column.
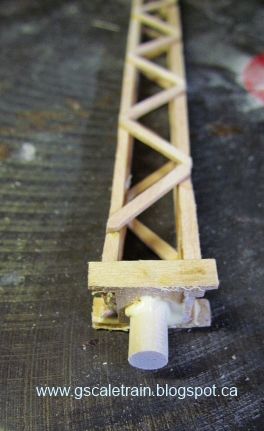
Using the base structure, we are going to glue the 13 1/2" columns on the end of the middle four cross beams. The shorter columns are glued outside of those leaving the end and the first cross beam positions empty.
Next Bridge Blog we are going to talk about the Triangle Joists for the top.
SEE THE PREVIOUS BLOG - HOW TO BUILD A G-SCALE TRAIN POPSICLE STICK BRIDGE - Part 4 - CLICK HERE
CLICK HERE TO SEE THE FINAL PRODUCT - G-Scale Popsicle Stick Train Bridge
CLICK HERE TO GO TO PART 5
No comments:
Post a Comment