The way we created the bottom sandwich beams for the base structure is the same way we are going to create the top beams. We are going to alternate gluing tongue depressors together x7 sticks thick. The first section (make 4 of these) are going to be flush at one end with the staggered 1st, 3rd, 5th and 7th layer of sticks being 3 sticks long or 16 1/2". Starting with a half stick the 2nd, 4th and 6th sticks are going to be 2 1/2 sticks long.
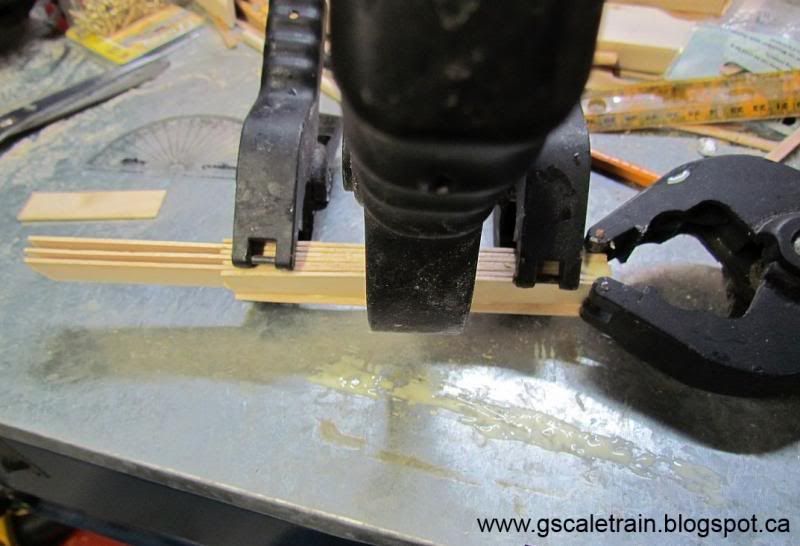
The next section (make 4 of these) are going to have 4 sticks or 22 inches long with 3 sticks staggered in-between.
The last section (make 2 of these) are going to have 5 sticks or 27 1/2 inches long with 4 sticks staggered in-between.
This last section is the center section and once the glue has dried we are going to start working with it.
Finding the center, we are going to measure out 13 1/2" (27" total) on the bottom of one of the sides. From this point we are going to mark a 85 degree angle (top is going to be slightly larger distances apart). Using a table sander remove the excess wood from the odd numbered sticks.
Next we are going to grab the second section of beams that were 4 sticks long. Finding the center we are going to measure out 9" (18" total) on the bottom of one of the sides. From only one end mark 85 degree angle and remove the excess wood. From the other end we are going to mark a 70 degree angle. The 85 degree ends of this piece and the center piece are going to be joined together the alternating sticks in the open 2nd, 4th and 6th positions giving us a 10 degree deflection in the top beam structure.
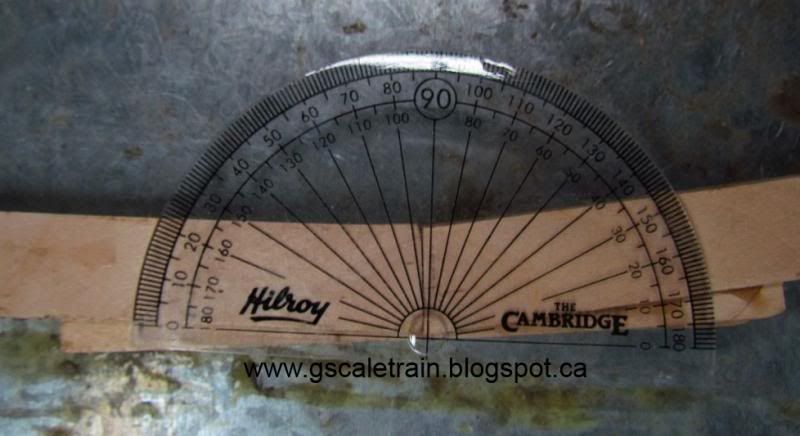
Have the joining sticks line-up in the center of the seam with their lengths protruding out the top of the beam. After clamping and letting the glue dry use a table sander to remove these and smooth out the top. Do this to both ends of the two center sections.
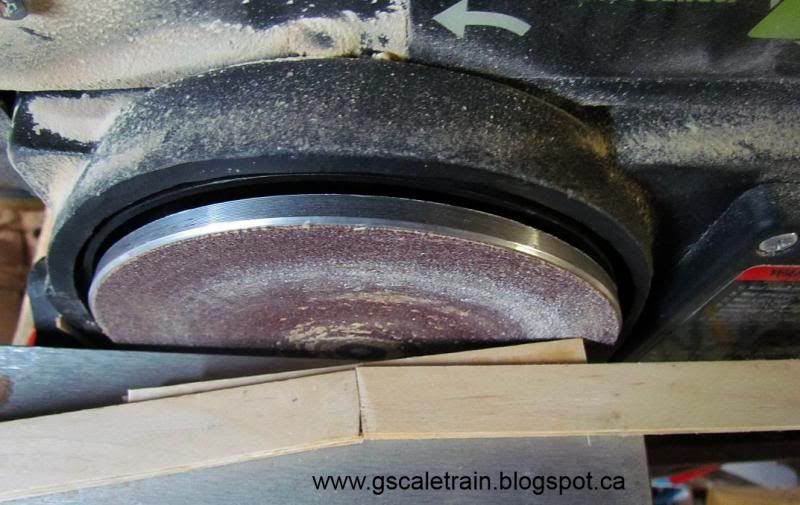
Now grab the 3 stick long pieces and mark the staggered end with a 70 degree angle.
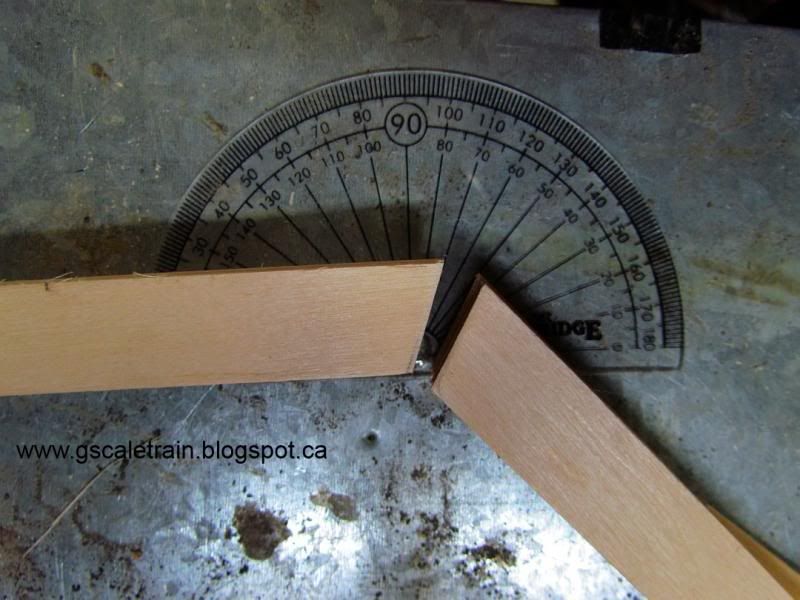
Remove excess wood and like before join to the 70 degree ends of out top structure forming a 40 degree deflection. I used a reciprocating saw to remove the majority of the protruding wood before I sanded the top smooth.
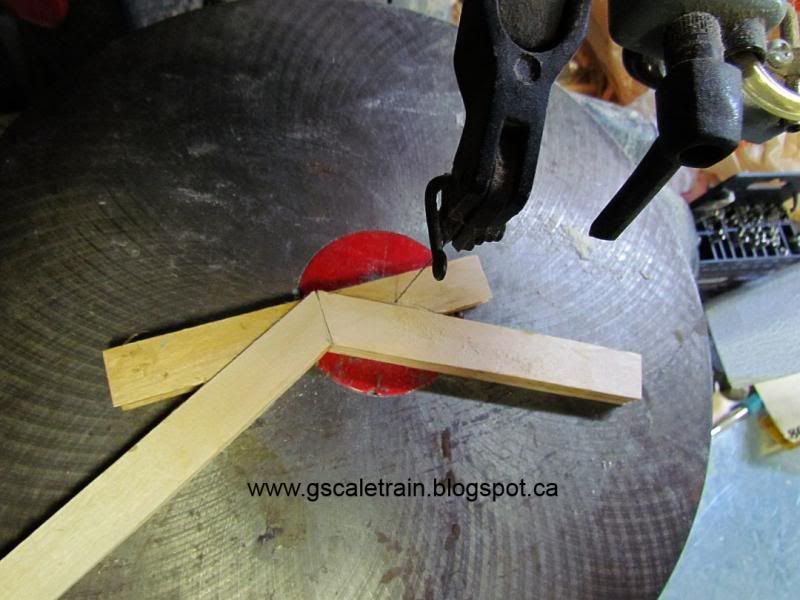
Next we are going to dress-up our top beam by gluing tongue depressors end-to-end to the top.
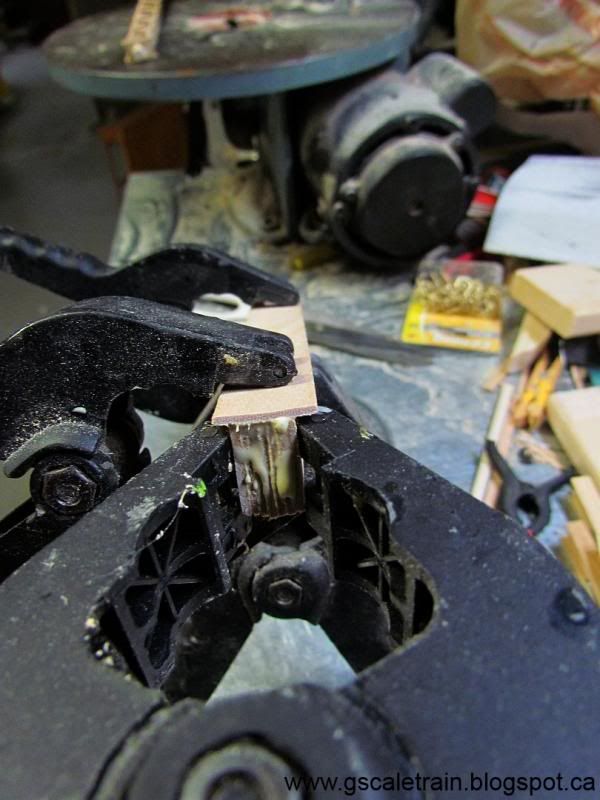
x2 sets of stir sticks are going to be glued end-to-end on the bottom. Each of the stir sticks are going to sticking out the same distance from the side as the tongue depressors.
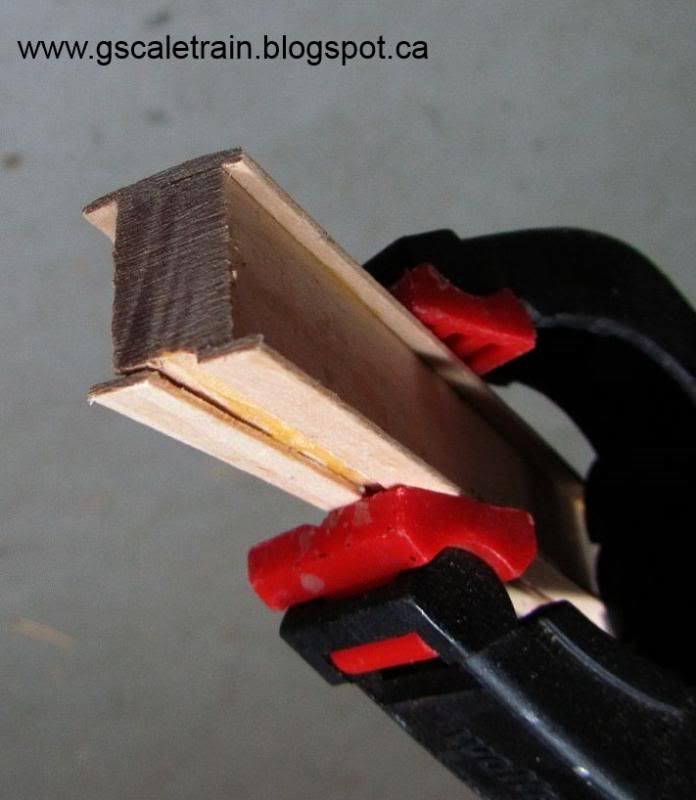
Once this is clamped and has dried we are going to pull out the base structure we made many, many weeks ago and check the top beam. Placing the top beam onto bottom section. The dowels on top of the stitch columns should line-up inside the crease of the 10 degree deflection. Mark the position of the dowels on the bottom of the top beam. The marks should be 9 inches apart. Remove the top beam and drill 1/4" holes at the dowel marks.
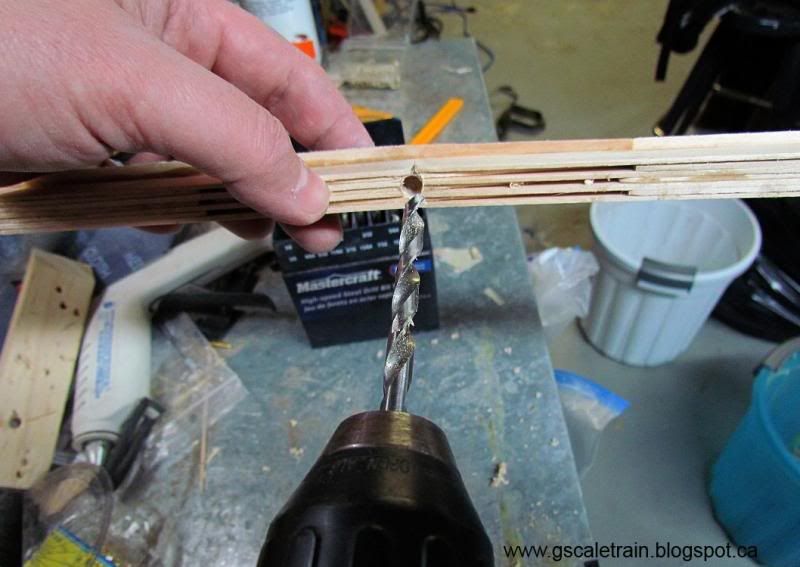
Along the bottom of the stir sticks we are going to make a series of marks 1 1/2 inches apart (6 equal parts between the dowel holes). We are going to cut stir sticks into 5/8" lengths or the width of a tongue depressor and hopefully the distance between the outside edge of the stir sticks on the bottom. We are going to glue the small sticks across the 1 1/2 marks (except for where the dowel holes are).
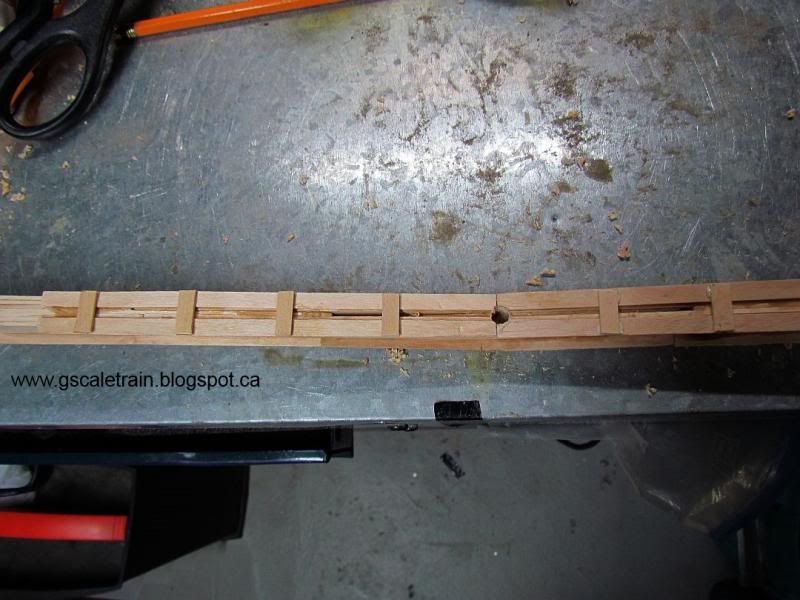
After all that has dried we are going to put the top beam on top of the dowels to mark the notches in the ends where the top and bottom connect at a 45 degree angle. I made a mistake when I notched my top beam by marking the cut exactly, which is the wrong thing to do. A bridge only works it the top in under tension. If not, the whole bridge will have the opportunity to sag. I had to add almost 1/2 inch of blocks inside my notches to put my bridge under proper tension. It is best to just to notch the very end of the 15 inch beam marking 45 degrees top and bottom corners and 90 degrees in the back indent.
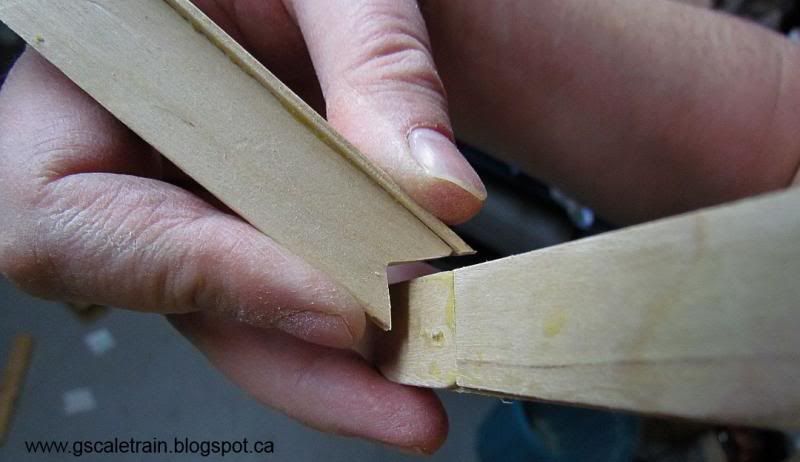
Please do not glue the top to the bottom yet. There are a couple more things we need to add next time.
CLICK HERE TO GO BACK TO PART 7
CLICK HERE TO SEE THE COMPLETED BRIDGE
CLICK HERE TO GO TO PART 9 - THE END
No comments:
Post a Comment